
3D Printing Experiments | Blog Entry 2
/What's great about 3D printing in my opinion is the ability to experiment and change settings as quickly as the next piece. With many models available online such as the famous "3DBenchy" to test out printer capabilities one of the most exciting and arguably the most time consuming activity one can do is calibrating their own printers to the teeth. I'm talking about having exact measurements measured precisely by digital calipers and adjusting print parameters to get the perfect surface finish without the need for post processing - more on this in an upcoming blog.
Getting the exact measurements to what you modelled your... model to be can be a little challenging. A 0.1 difference in steps/mm in the printer firmware might throw off your final results by a few points of a millimetre. This may not sound much but for myself it's a nuisance and you always want to change settings and try and get it precisely. There are many factors that can throw off print accuracy such as machine vibration, filament thickness irregularities, room environment, temperature and so on (might cover this in a future blog!). This activity of experimenting with settings, printing, measuring sizes, change settings, print again, etc took a great deal of time due to so many factors being involved. Of course once I've got it dialled in I had good repeatability from part to part but every so often it does come out of calibration which can be annoying.
Plastics have the special property of expanding when hot and contracting when cold. Probably this is why calibrations come undone frequently as the measurements are different when the part is hot or cold and when you measure does affect things to some degree. Getting a good surface finish from experience has been and still is a work in progress. I'm talking about surface finish straight from the printer itself and not post processed by sanding it with high grit paper. Depending on the printer sometimes it puts down just a bit too much or a bit too less and finding the right balance has been an experiment all in itself. Of course the higher end you get the less you have to deal with all this and the less time you'd take to fiddle and experiment with these settings but it's quite a satisfaction to get the perfect settings for your machine, press print and have it create a flawless item right in front of you every single time. There are ways to address surface finish quality like using a glass bed to get a smooth and shiny base or experimenting with top layer extrusion settings. One popular (and dangerous) method of smoothing ABS prints is with Acetone which, again, is an experiment all in itself.
I still think that experimenting with this technology really is where all the fun happens and where you can grow in experience with the machine. Dealing with the quirks of plastic based 3D printers is something that engineers and designers have to take into account when creating functional parts with tolerances and dimensions. I often say that 3D printers are more of a "tool" than a "toy" and it's actually incredibly versatile in what you can do with it rather than what the printer itself is capable of doing. The more you experiment and get to know the tool the better you can make someting with it. Anyone can take a sharp chisel and hammer and chip away at a granite block to make something. It takes an experienced sculptor with the same sharp chisel and hammer to make a work of art. In this regard the more experience you have with 3D printing the more experienced and equipped you become to make spectacular things with 3D printing.
Tl;Dr - Experimenting = more experience = more things you can do with 3D printing
- Raphael Garcia
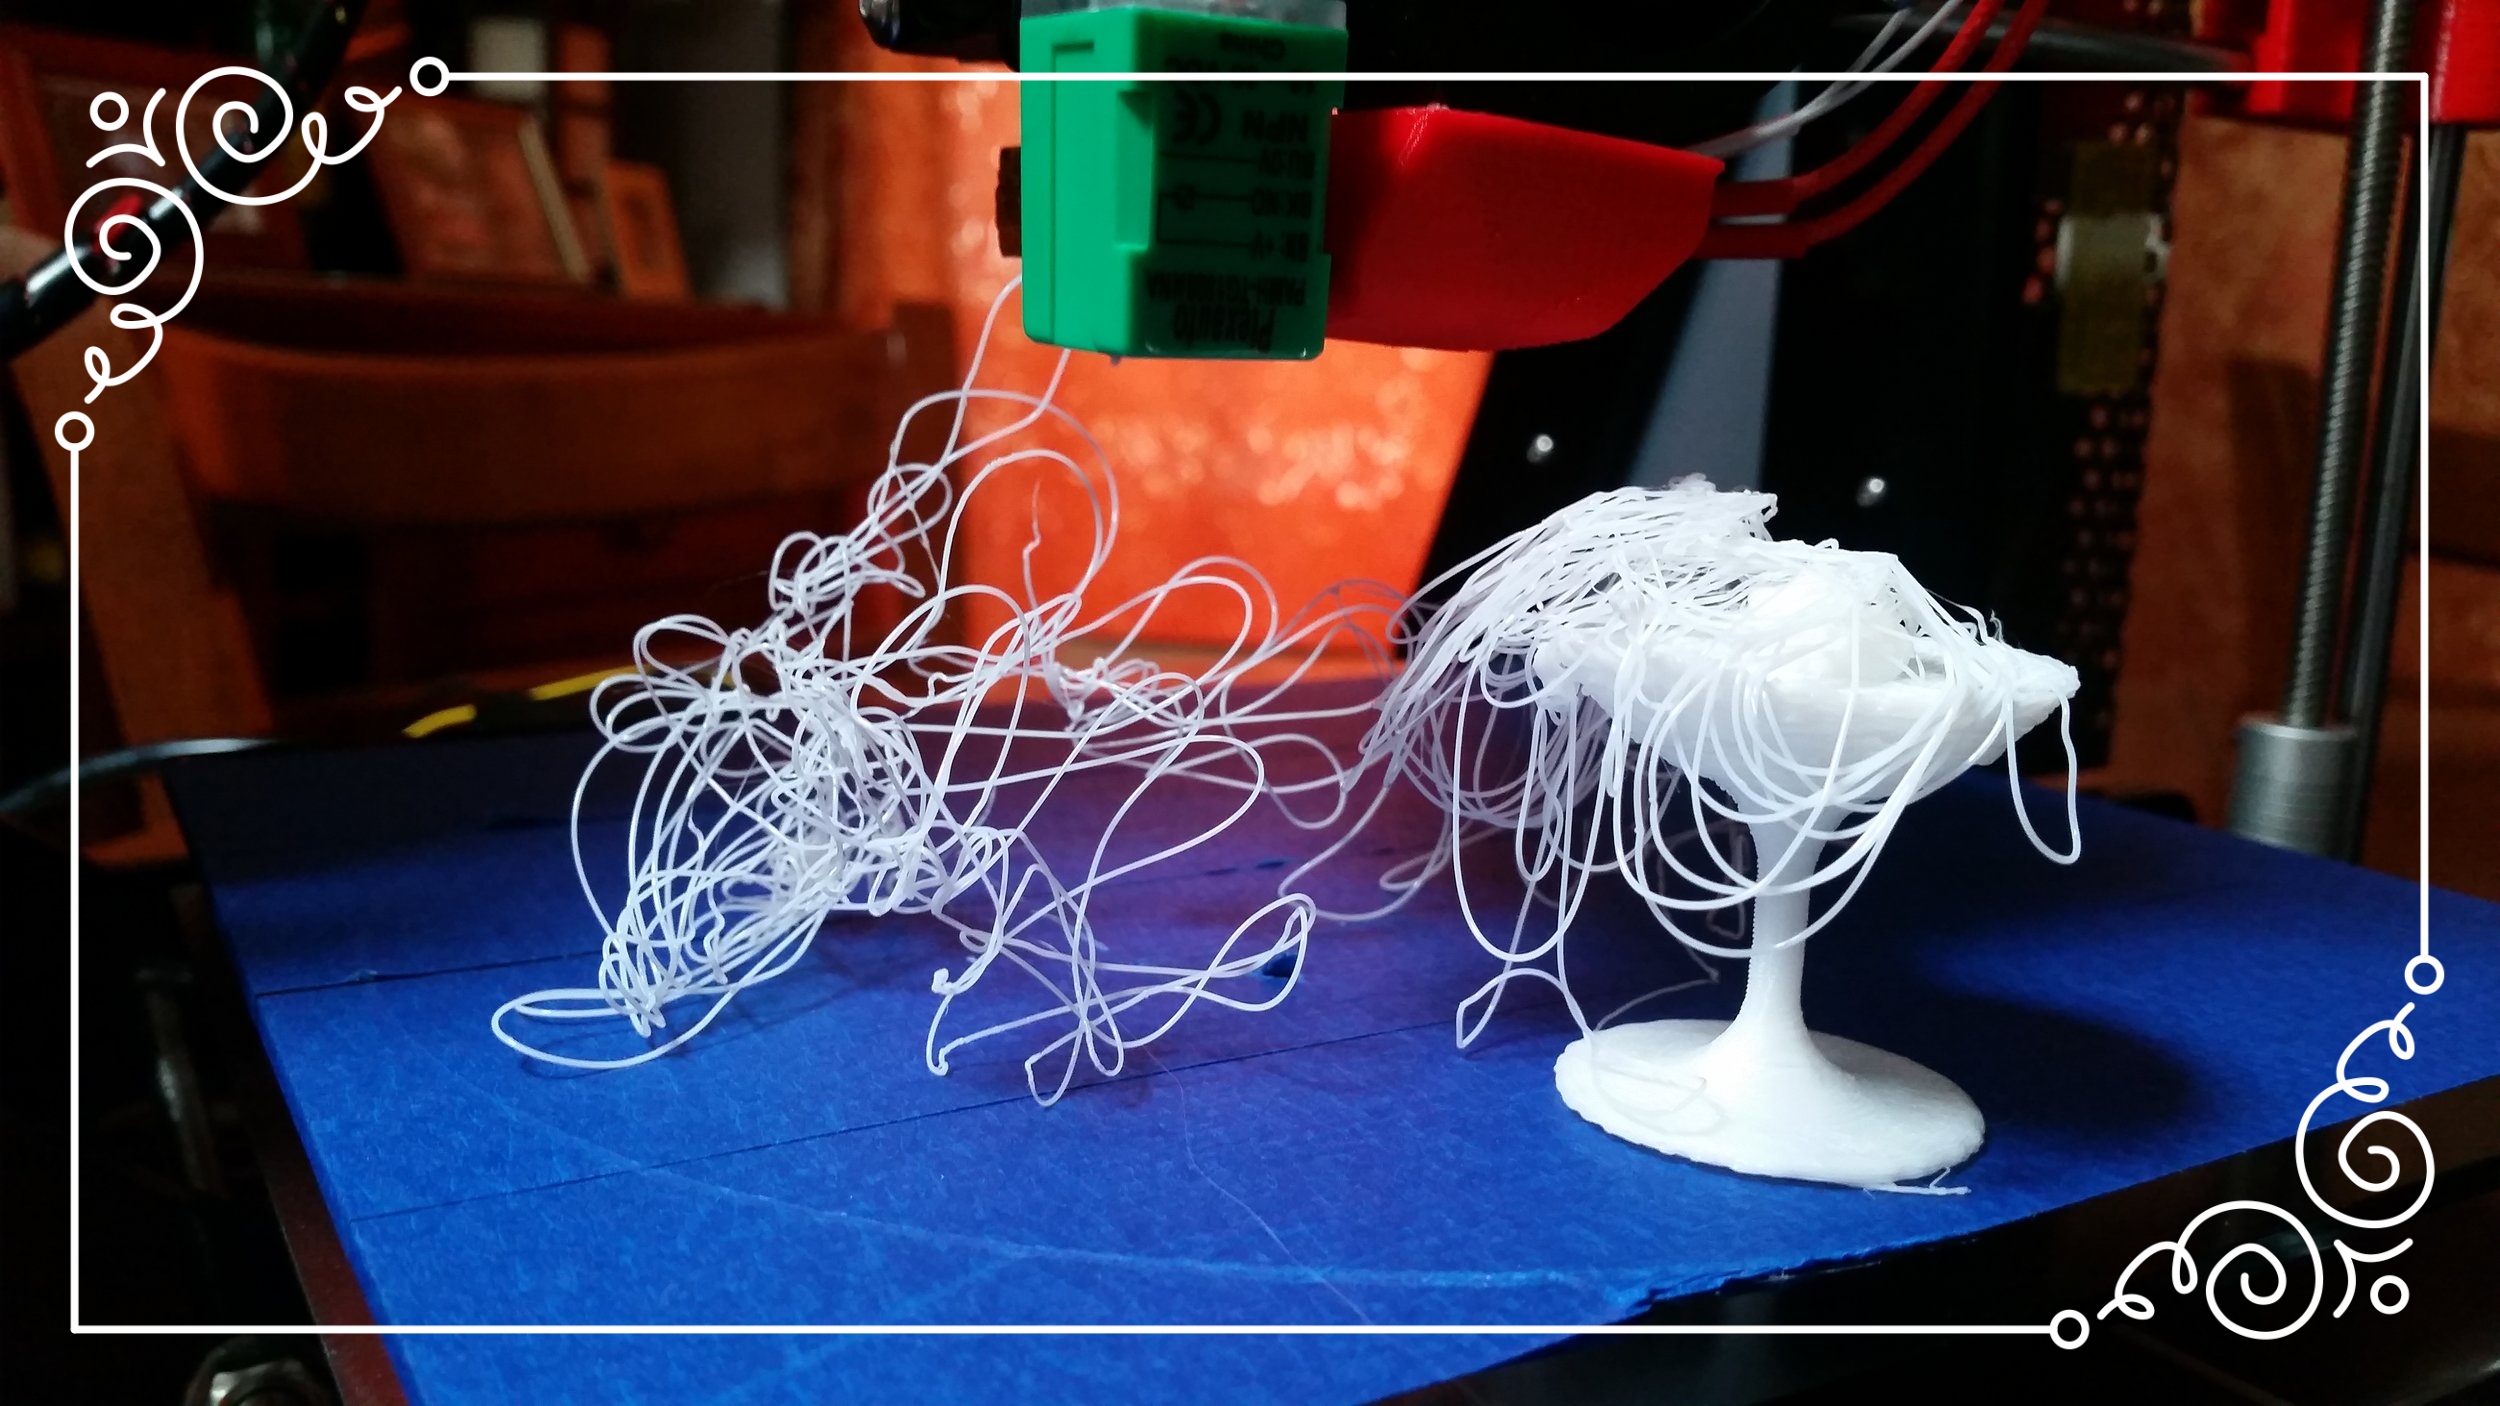
Very first 3d print...
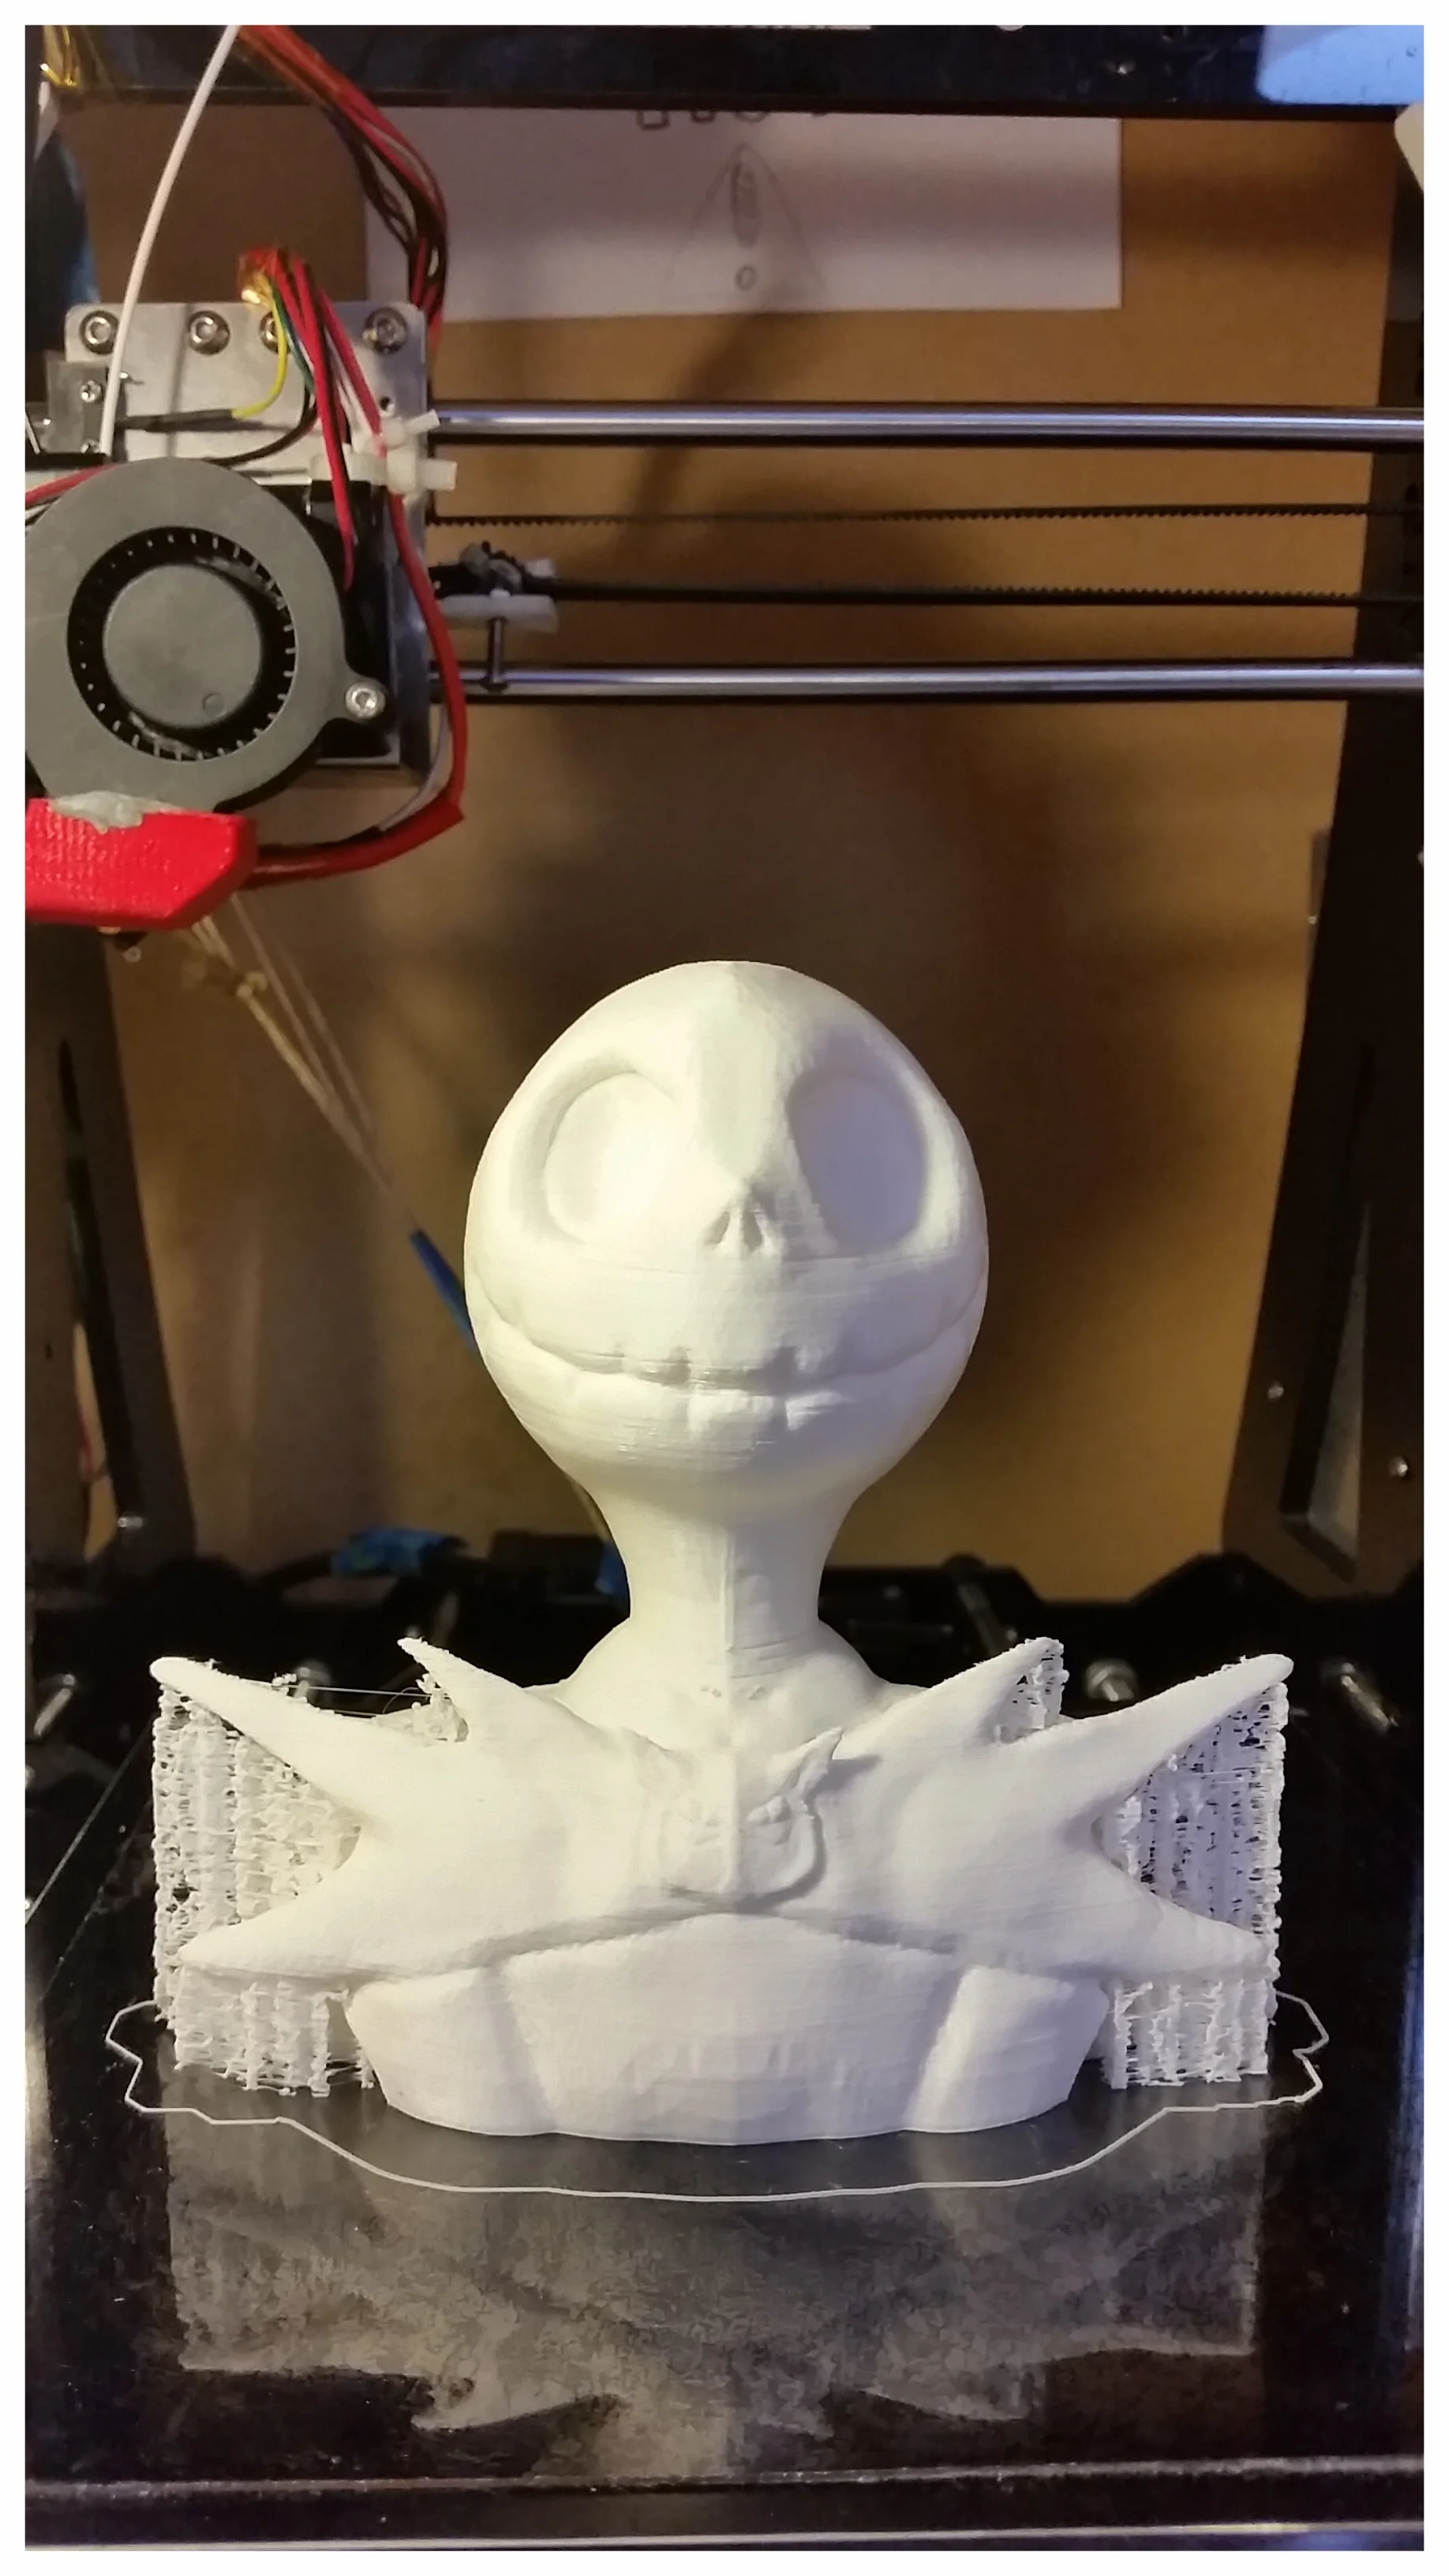
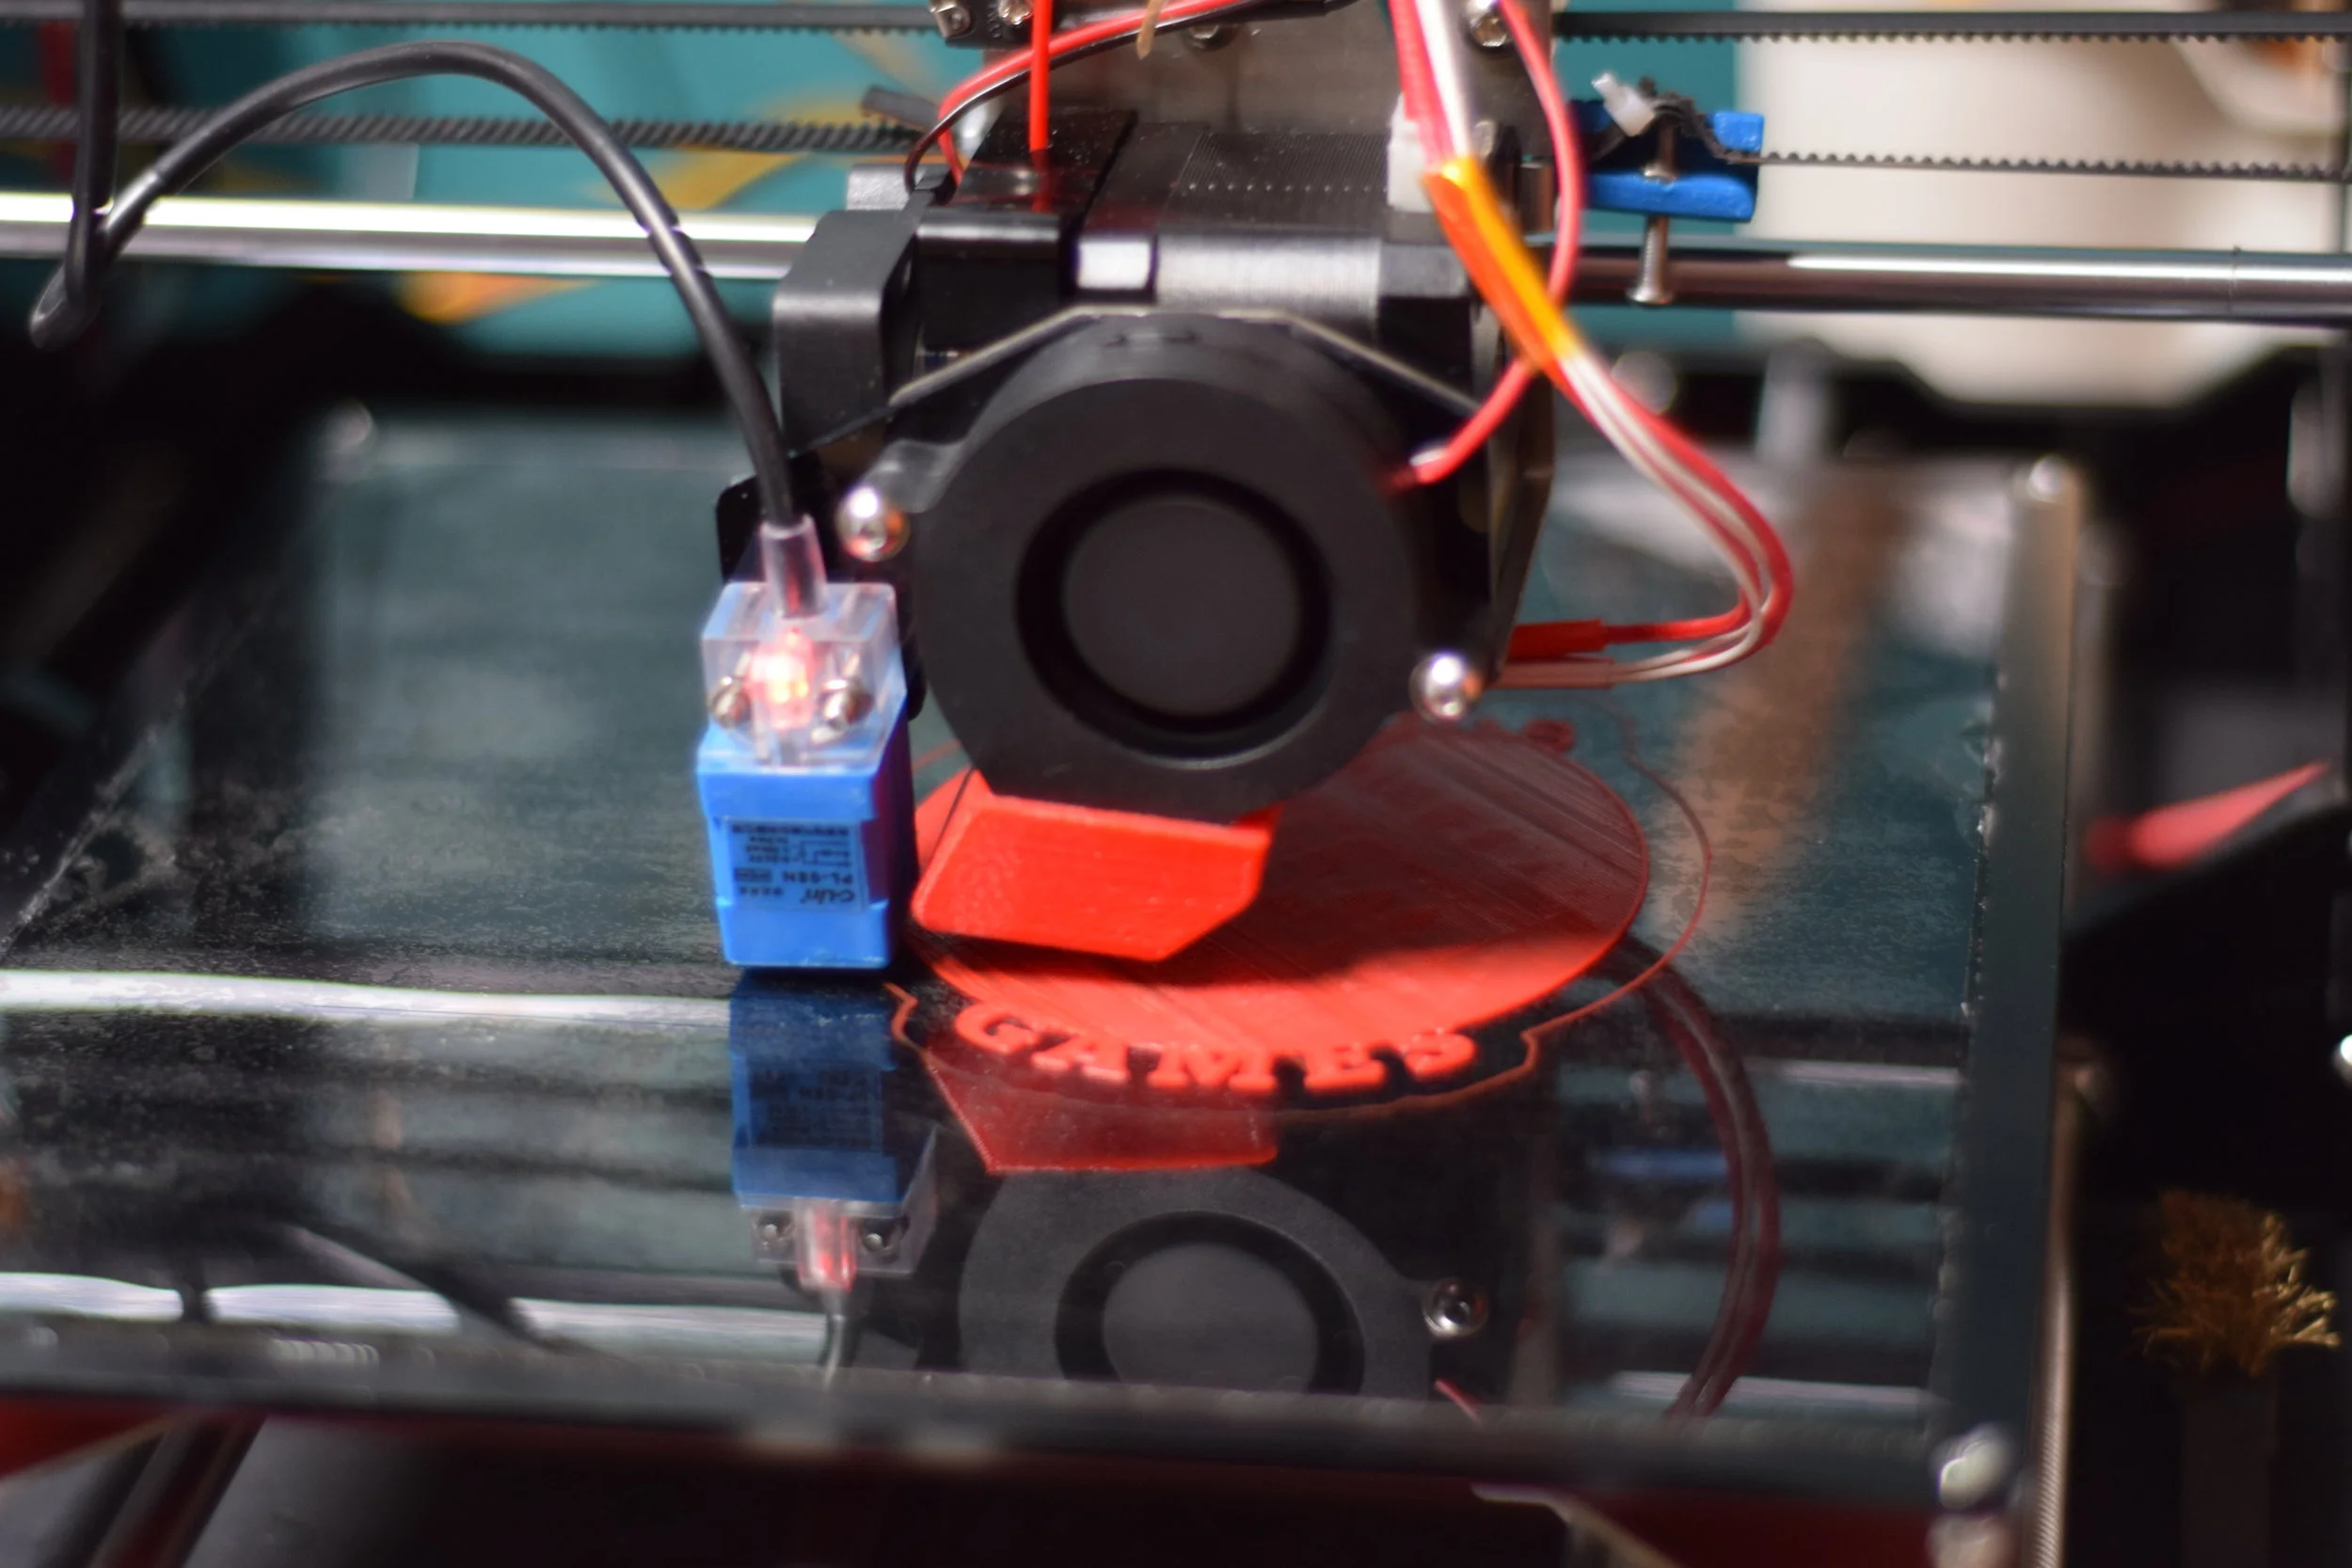
quality after experimentation