Tolerances and Fits in 3D Printing: How to Get It Right with Your Bambu Lab X1C

If you’re into 3D printing, you’ve probably realized that getting parts to fit together perfectly isn’t as easy as it seems. Whether you’re making a snap-fit case or a functional prototype, understanding tolerances and fits can make or break your design. With the Bambu Lab X1C, you’ve got a powerhouse printer at your disposal, but to truly nail your projects, you need to get familiar with designing for tolerances. Let’s dive into what that means and how you can get your parts fitting just right.

What Are Tolerances and Fits Anyway?

In simple terms, tolerances are the leeway you give to your dimensions—the tiny allowances that let things fit together even when your printer isn’t 100% precise. Fits describe how two parts interact, whether they slide smoothly, press together tightly, or somewhere in between. Here’s a quick rundown:

  • Clearance Fit: There’s always a little space between parts, perfect for things that need to move freely.

  • Interference Fit: Parts are slightly larger than the hole or space they’re going into, which means you’ll need to force them together. Think press-fit connections.

  • Transition Fit: This is a sweet spot between the two—parts fit snugly but not too tight.

Getting these right in your design can save you from the headache of sanding, adjusting, or, worse, reprinting entire parts.

Common Challenges in 3D Printing Tolerances

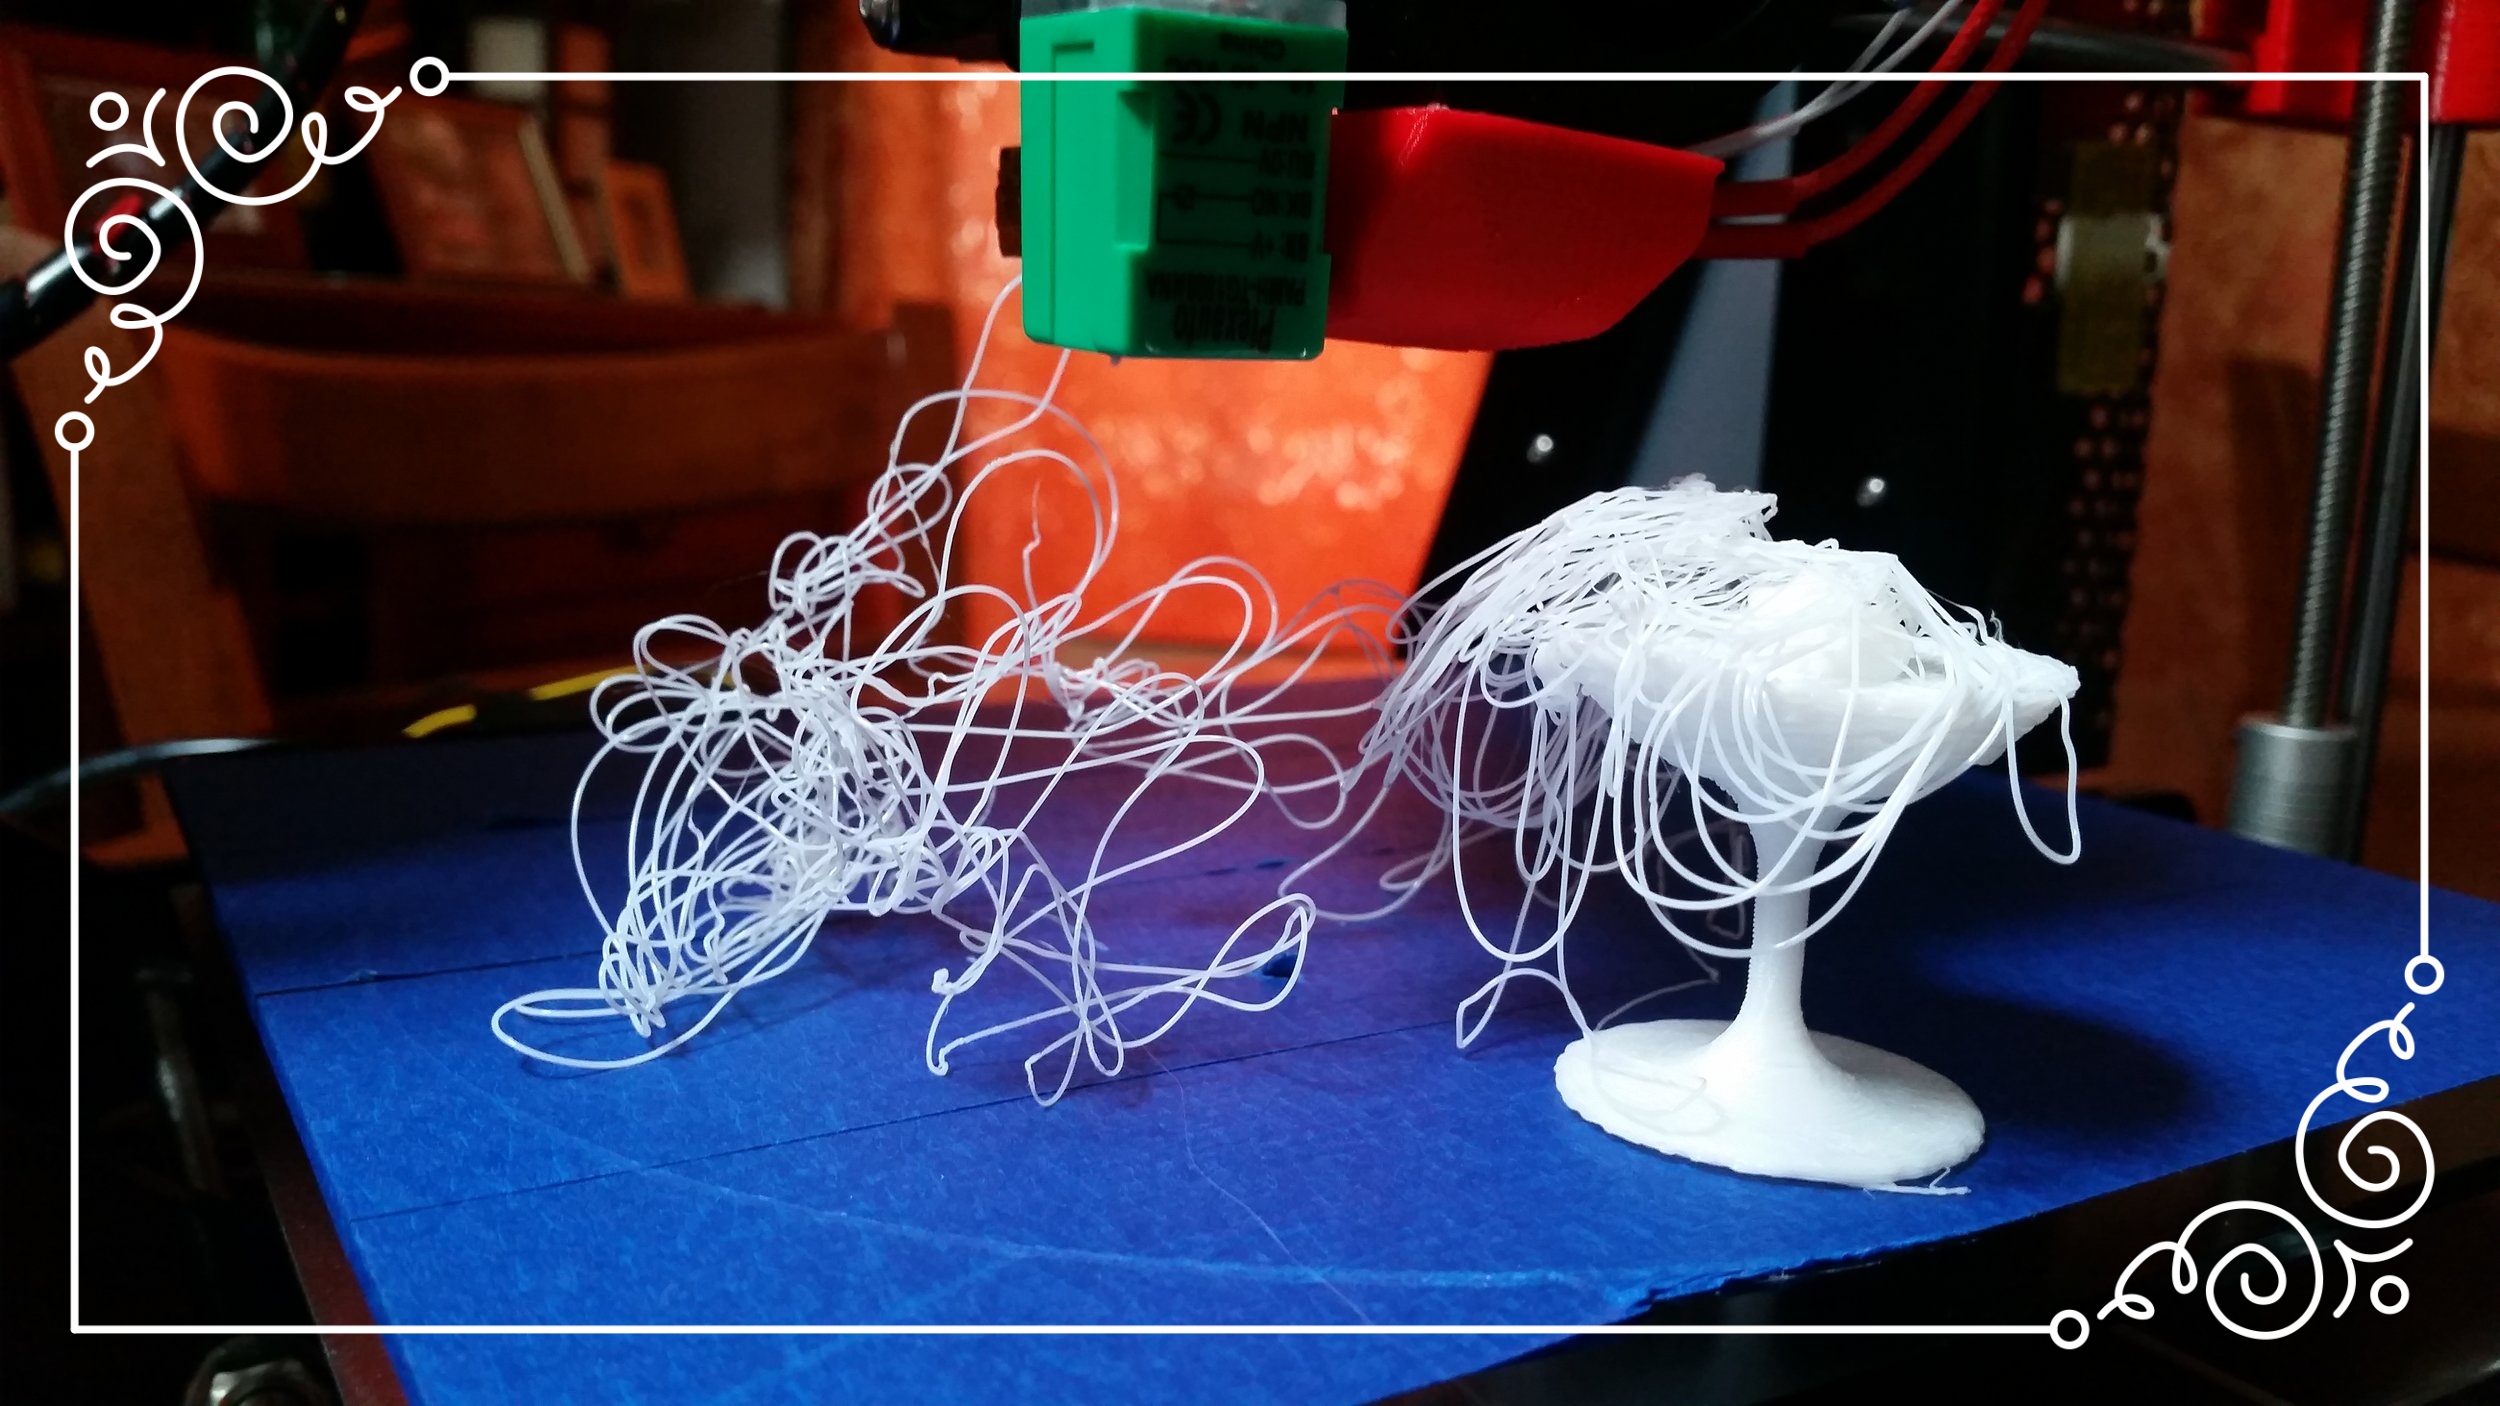
3D printing isn’t perfect, and a few common issues can throw your tolerances off. With the Bambu Lab X1C, you’re already ahead in terms of precision, but there are still some quirks to watch out for:

  • Shrinkage and Warping: Plastics like ABS and PETG shrink as they cool, which can mess with your dimensions.

  • Print Orientation: How you place your part on the print bed can impact accuracy, especially for things like holes and overhangs.

  • Layer Height and Resolution: Smaller layer heights give you better detail and accuracy but can significantly increase print times.

Designing for Perfect Fits

Here’s how to design parts with the right tolerances:

  1. Start with Standard Tolerances: For clearance fits, start with a 0.2-0.3 mm gap. For interference fits, try a slight overlap of 0.1-0.15 mm. It’s a good rule of thumb, but adjust based on your specific material and printer quirks.

  2. Test, Test, Test: Use small calibration models to dial in the tolerances specific to your Bambu Lab X1C. It’s better to tweak a tiny test print than waste time and filament on a full-scale project.

  3. Mind the Print Orientation: Holes often print smaller when oriented vertically due to how the printer lays down material. If precise holes are critical, consider orienting your print differently or slightly enlarging the hole in your design.

  4. Account for Material Behavior: Each material behaves differently—PLA is pretty stable, but ABS can shrink a lot. Use the material-specific profiles on the X1C to help manage these variances.

  5. Don’t Skip Post-Processing: Sometimes, the best fit is achieved after a little work. Light sanding, reaming holes, or a quick heat gun adjustment can make all the difference.

Using the Bambu Lab X1C for Better Precision

The Bambu Lab X1C is packed with features that help you get those fits just right:

  • Auto Calibration: This feature helps ensure your first layers are perfect, setting a solid foundation for accurate prints.

  • High-Resolution Printing: Dial in those finer details without sacrificing too much time.

  • Material Profiles: Use these to adjust settings automatically based on the filament you’re using, helping to mitigate issues like shrinkage and warping.

Why This Matters: Beyond Just Fits

Getting your tolerances and fits right isn’t just about making your parts work—it’s about efficiency, less waste, and smarter manufacturing. When your prints fit the first time, you’re reducing the need for reprints and post-processing, saving both time and material. Plus, it’s all part of what makes 3D printing such a sustainable option: less waste, more precision, and the ability to fine-tune designs on the fly.

Wrap-Up: Keep Experimenting and Improving

Designing for tolerances and fits in 3D printing is part art, part science. It takes some trial and error, but with the right approach and the capabilities of your Bambu Lab X1C, you can turn out parts that fit together perfectly straight off the print bed. So keep experimenting, tweak those settings, and enjoy the process of perfecting your prints. Happy printing!

Sustainability in Additive Manufacturing

Additive manufacturing is a revolutionary tool that has the potential to help address some of the world's biggest sustainability challenges. By enabling the production of complex geometries and customized parts with minimal waste, 3D printing can be a game-changer for sustainability.

One way 3D printing promotes sustainability is by reducing material usage. Traditional manufacturing methods often result in a lot of waste, with large amounts of material being discarded during the production process. With 3D printing, however, the materials are used more efficiently, resulting in less waste.

Another way 3D printing can help the environment is through the use of recycled materials. Many 3D printing filaments and powders can be made from recycled plastics or metals, reducing the amount of waste generated during the manufacturing process and supporting a circular economy.

In addition, 3D printing allows for design optimization, which can lead to lighter, more efficient parts. This can reduce material usage and energy consumption during both manufacturing and usage, resulting in a smaller environmental footprint.

Furthermore, 3D printing enables localized production, which can reduce transportation emissions and promote more sustainable supply chains. Products can be produced on demand in local factories or even in customers' homes, reducing the environmental impact of transportation.

Finally, 3D printing also facilitates product repair and upgrade, which can extend the lifespan of products and reduce the amount of waste generated by consumer products.

In conclusion, 3D printing is a powerful tool that can be leveraged to help the environment. By reducing material usage, using recycled materials, enabling design optimization, promoting localized production, and facilitating product repair and upgrade, 3D printing can help us move towards a more sustainable future.

5 Years Later | Entry Blog 7

My journey so far…

It’s been good. Three words to summarise how things have been in the last 5 years. My focus now has changed from 3D printing to overall business development. I still do a lot of 3D printing and the techniques, softwares and design philosophies have changed over the years which, in this field, continues to be rather exciting.

Fusion360 has been one of the biggest shifts in my 3D printing operations, with the commercial software being great to use and allows for collaborations with others easily. Having a bunch of options available, I still recommend finding the one that suits you, knowing 80% of the daily functions and researching the other 20% you may only use once or twice in a project.

The changes in materials, availabilities and performance has been improving. PLA now works for 90% of our prints with the remaining 10% spread between special materials, resin printing, etc. It blows my mind knowing that the material options used to be unreliable, irregular and limited. Now it’s hard to select which type of PLA you should use, and what printers to use it on!

Finally, the knowledge of folks especially those in manufacturing are starting to shift. Almost all know about them however there is still those who don’t understand how it works. Being able to show companies how these things can add value to R&D, production, manufacturing and other areas have been interesting. Most adopting the technology after a few successful projects.

It’s hard to know what the next 5 years will be but it’s going to be bright!

Updates | Entry Blog 6

Flinders Innovation Centre

On the 21st of March 2017 I started a full time job at the Flinders Innovation Centre - New Venture Institute, Tonsley as Operations Assistant! This role primarily focuses on running and maintaining one of the most advanced 3D printing systems in South Australia - the Stratasys Objet260 Connex. It's absolutely unreal and with a price tag of $250,000 and material cartridges expensive enough to buy a few low end FDM 3D printers you would expect that the quality would be amazing... And it certainly is with a layer height of 16 microns. To put in perspective, well tuned FDM machines are capable of touching 50 microns and struggle to get down any lower.

The service here at the New Venture Institiute is open to the public so if you want a super high-end print job (admitantly well beyond the capabilities of my printers at home) feel free to send a message to my email - raphael.garcia@flinders.edu.au - and I'll give you a quote for your parts. We run a cost-recovery model here and with the ability to print different materials (from rigid all the way to rubber) all in the same print it's well worth the price.

Disclaimer - I'm keeping my own business (Raphael Garcia 3D Printing and Design) separate from NVI. I focus on NVI from 9am - 5pm and then my own things at other times. As my technology and the technology here at work are completely different, I feel that there isn't much conflict of interest as I can bring clients from one to another.


Designing for 3D Printing | Blog Entry 5

Designing objects for 3D printing is often different from designing things regularly. There are a few things that a designer would have to take into consideration and these usually involves design practices to ensure that the model you create would be 3D printable and would work without too many further modifications. These includes the way your printer print things out, details and measurements as well as material selection.

Printer mechanics

Usually with 3D printers they build up the model one layer at a time. Whether it be FDM, SLA, SLM, or other exotic methods, the process is done through consecutive layers starting from the bottom towards the top. When designing for 3D printing, one must keep this process in mind when developing their models on CAD. Certain features such as being top-heavy, curved bottoms and sharp corners and edges could impact on the success of the print itself. For example, if a model were to be printed with a moving print bed as in those found in the Prusa i3 style 3D printers a top-heavy, curved bottom object would most likely fall over during the printing process. However, where it to have a flat bottom with the centre of gravity close to the print bed, the model would most likely adhere and print fine without support. With printers that allows the object to be static while printing, the object might be able to print but with a curved (bowed) bottom, the object won't have as much contact to the build platform and may also fall over if printed without supports. Thus to maximise the success rate of a print, one must take into account how the printer operates and designs their model accordingly. 

Details and measurements

When it comes to detail, there small details that may be difficult for a printer to recreate. Using an architecture model of a house, a model with a wall that's 5mm thick can print well on a printer equiped with a 0.4mm nozzle. However, a wall that's 0.3mm thick (imagine scaling things down) will unlikely print with a printer equiped with a 0.4mm nozzle. Details like sharp edges, small letters and shapes may not be as defined on some printers so it may be good to test out your printers first to see if it can achieve the detail you want. Also something to take note: more detail usually requires more time. So also it may be worth seeing how much time extra is taken for the detail that you want. A printer with a 0.3mm nozzle will give you features that are sharper and more defined compared to a 0.4mm nozzle but will take more time than otherwise. Something to consider carefully if you have a workflow going on and want to know how much time can actually take to print something out.

It's also important to note that other technologies are more accurate than others. SLA for example can print things out in much higher detail without the fuss of adjusting nozzle sizes. Ultra high end printers such as the Stratasys machines utilise a completely different technology which can accurately print things at incredibly high detail (at 16 microns on a Stratasys Objet 260 Connex for example) without loss of fidelity and the ability to print really intricate designs

Size and volume

Size and volume of your printer definitely impacts on what you can or cannot print. Obviously, a model that has a dimension of 20cm by 20cm by 20cm will not fit inside a printer with a print volume of 15cm by 15cm by 15cm. This gives designers an interesting problem of how to create something despite size constraints. One way to get around this is to have a printer with a bigger print volume. But printers with large capacities are often very expensive and might not be accessible to many people. Therefore at times, designers must get inventive and break larger models into sections which can fit in the build volume of their printers. Usually this is the preferred method as it is simple to glue parts together to form one big object or to design fasteners or connectors in the design such that those printed parts can be assembled after printing. It definitely is good to take note on the printer build size as it may affect your overall design..

There are definitely more aspects to designing for 3D printing and most really do have to experience this to get a good understanding of what can work and what can't. Often these details are overlooked at when designing a product, prototype or a part but it certainly is good to keep in mind so when it comes down to actually printing the object out you don't have any problems and just press print.

Updates | Blog Entry 4

Just a quick update - I've been so busy lately doing design work and 3D Printing that I haven't gotten around to finishing the next blog post/tutorial! It's going to be quite a good article on designing things for 3D printing and some of the things I've came across throughout my experience. Should be posted by the end of this week~!

Meanwhile, enjoy this 3D Printed baby elephant. Isn't it cute <3

Cr: Elephant by LeFabShop - http://www.thingiverse.com/thing:257911

The art of post processing | Blog Entry 3

Post processing to the uninitiated is the act of taking a piece that has just been printed and cleaning it up to the final appearance that you want. Simple? Maybe. Relatively speaking I think that this process actually can make or break (literally break) your piece.

If a piece has been designed well such that it doesn't need support materials to print certain parts of the objects then there really isn't much left to do to clean it up. With a good printer you can take the part that's just been printed and use it straight away. There might be little wisps of plastic hanging from the side or pockmarks on the surface but nothing that sand paper can easily remove with a bit of elbow grease. When a part does need support material removing the supports do require extra care and consideration. A sharp hobby knife might cut away at these support structures but one wrong move and you could cut into the wrong area or surface. If things go wrong (such as a section of your piece coming off with support material) you literally can print it again. I have had instances where I've taken my cutters and accidentally snip away at support material realising later that I've cut into the actual model itself. 

Another important aspect of post processing is sanding. Sanding surfaces down can increase the finish and quality of prints by creating smoother surfaces and a nicer look. Most printers print quite evenly without blemishes on the surface. However there have been times when bubbles, pockmarks and irregularities on the surface occurs and/or measurements aren't quite correct. Sanding down these areas with increasing grit number (ie 200 - 400 - 800 - 1200) allows the surface to be even and smooth. This not only fixes imperfections in the prints but also gives a nicer finish and texture overall.

There are many tools that one can employ to get most - if not all - support materials out. The ones I commonly use are:

  • Sharp hobby/precision knives
  • Flush cutters
  • Pliers
  • Tweezers
  • Sand Paper
  • Sanding Block
  • Safety gear (gloves & goggles)

Obviously it is incredibly important to take care not to injure yourself when using sharp tools. Definitely would recommend using safety glasses and gloves just to be extra careful and with due diligence and experience it is rare for a mishaps to occur. It's important to take your time to post process correctly. You want to make the print look and feel nicer than when it was printed and overall adds quality and value to the print. It also requires lots of practice and patience to do and perfect but if done correctly your prints will look incredibly good and feel more valuable than it was before.

With new technology becoming available to the consumer market you now can buy machines that print soluble support structures and literally wash them away with water leaving a print with amazing features that would be difficult to achieve with non-soluble supports. Higher end printers which uses different methods of printing often have support materials that are incredibly easy to come off or can be printed without the need for supports all together. However in many cases post processing is still required and the art of fixing any blemishes on the print requires lots of time, patience and practice to get right.

- Raphael

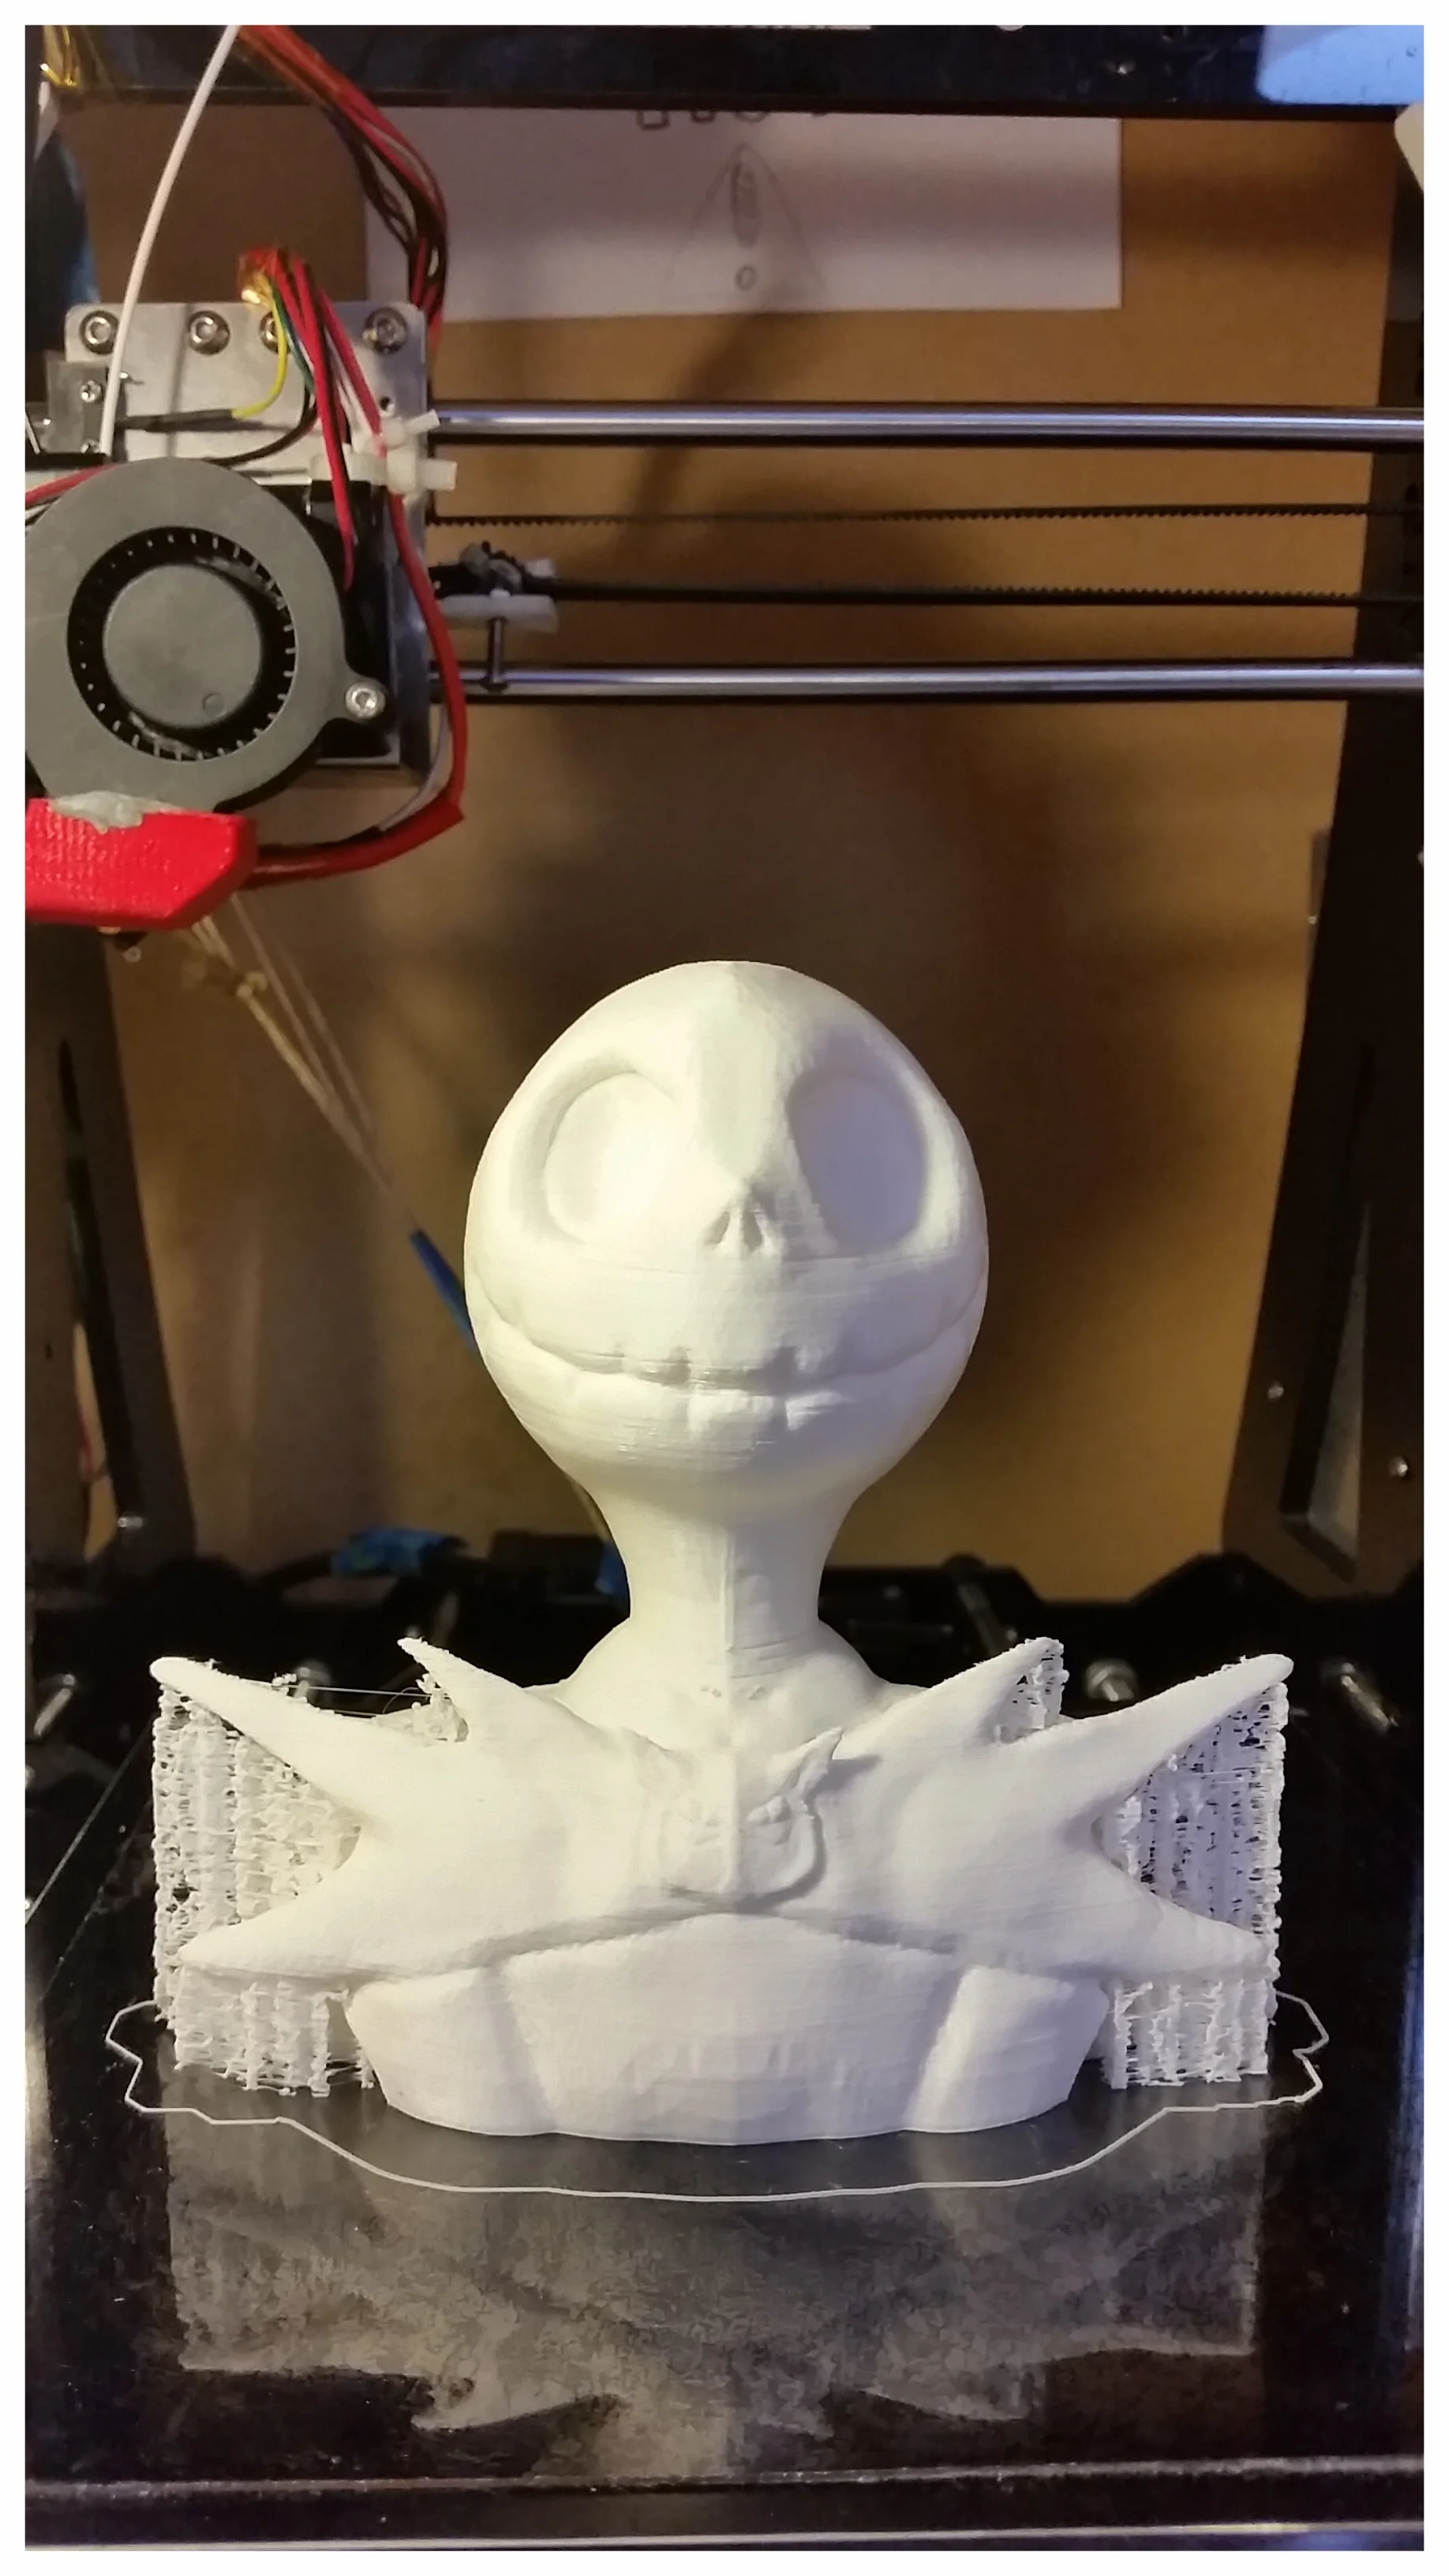
Dragon Head with supports underneath 

3D Printing Experiments | Blog Entry 2

What's great about 3D printing in my opinion is the ability to experiment and change settings as quickly as the next piece. With many models available online such as the famous "3DBenchy" to test out printer capabilities one of the most exciting and arguably the most time consuming activity one can do is calibrating their own printers to the teeth. I'm talking about having exact measurements measured precisely by digital calipers and adjusting print parameters to get the perfect surface finish without the need for post processing - more on this in an upcoming blog. 

Getting the exact measurements to what you modelled your... model to be can be a little challenging. A 0.1 difference in steps/mm in the printer firmware might throw off your final results by a few points of a millimetre. This may not sound much but for myself it's a nuisance and you always want to change settings and try and get it precisely. There are many factors that can throw off print accuracy such as machine vibration, filament thickness irregularities, room environment, temperature and so on (might cover this in a future blog!). This activity of experimenting with settings, printing, measuring sizes, change settings, print again, etc took a great deal of time due to so many factors being involved. Of course once I've got it dialled in I had good repeatability from part to part but every so often it does come out of calibration which can be annoying.

Plastics have the special property of expanding when hot and contracting when cold. Probably this is why calibrations come undone frequently as the measurements are different when the part is hot or cold and when you measure does affect things to some degree. Getting a good surface finish from experience has been and still is a work in progress. I'm talking about surface finish straight from the printer itself and not post processed by sanding it with high grit paper. Depending on the printer sometimes it puts down just a bit too much or a bit too less and finding the right balance has been an experiment all in itself. Of course the higher end you get the less you have to deal with all this and the less time you'd take to fiddle and experiment with these settings but it's quite a satisfaction to get the perfect settings for your machine, press print and have it create a flawless item right in front of you every single time. There are ways to address surface finish quality like using a glass bed to get a smooth and shiny base or experimenting with top layer extrusion settings. One popular (and dangerous) method of smoothing ABS prints is with Acetone which, again, is an experiment all in itself. 

I still think that experimenting with this technology really is where all the fun happens and where you can grow in experience with the machine. Dealing with the quirks of plastic based 3D printers is something that engineers and designers have to take into account when creating functional parts with tolerances and dimensions. I often say that 3D printers are more of a "tool" than a "toy" and it's actually incredibly versatile in what you can do with it rather than what the printer itself is capable of doing. The more you experiment and get to know the tool the better you can make someting with it. Anyone can take a sharp chisel and hammer and chip away at a granite block to make something. It takes an experienced sculptor with the same sharp chisel and hammer to make a work of art. In this regard the more experience you have with 3D printing the more experienced and equipped you become to make spectacular things with 3D printing.

Tl;Dr - Experimenting = more experience = more things you can do with 3D printing

- Raphael Garcia

Very first 3d print...

Very first 3d print...


quality after experimentation

quality after experimentation

Website Launch and January Updates | Blog Entry 1

It's been a long time coming but finally after what seems like a month of finding the right design and website aesthetic we've finally put our website online! We are so proud to have a central platform to share and promote our services to everyone interested in the world of 3D Printing.

We've got so much things to work on this month including a monster order of 100 3D printed pieces! Still in the process of evaluating and finalising material selection, nozzle sizes and printer settings but once we've nailed the final prototype it's all hands on deck to finish it within the timeframe we have.

We also have just finished testing and validating our 2nd 3D Printer! We test our printers in a variety of ways including accuracy, speed and print quality. We've also extensively modified the frame to make the printer much more stable than stock. We have more upgrades to come for both our printers and are planning to purchase more when the time comes.

Until next time, take care and happy 3D Printing!
- Raph